How to photograph Light and Airy
I get told a lot by photographers and clients about how they love the look of my images because they are so light and bright and have that “light and airy” look. I tend to gravitate towards natural and clean images and found this style has Finding your own style in photography can be hard but here are a few tips to help get you on your way.
First off, what do I mean by “light and airy”. This is a type of style of photography and this normally means the image has lower contrast and softer colors.
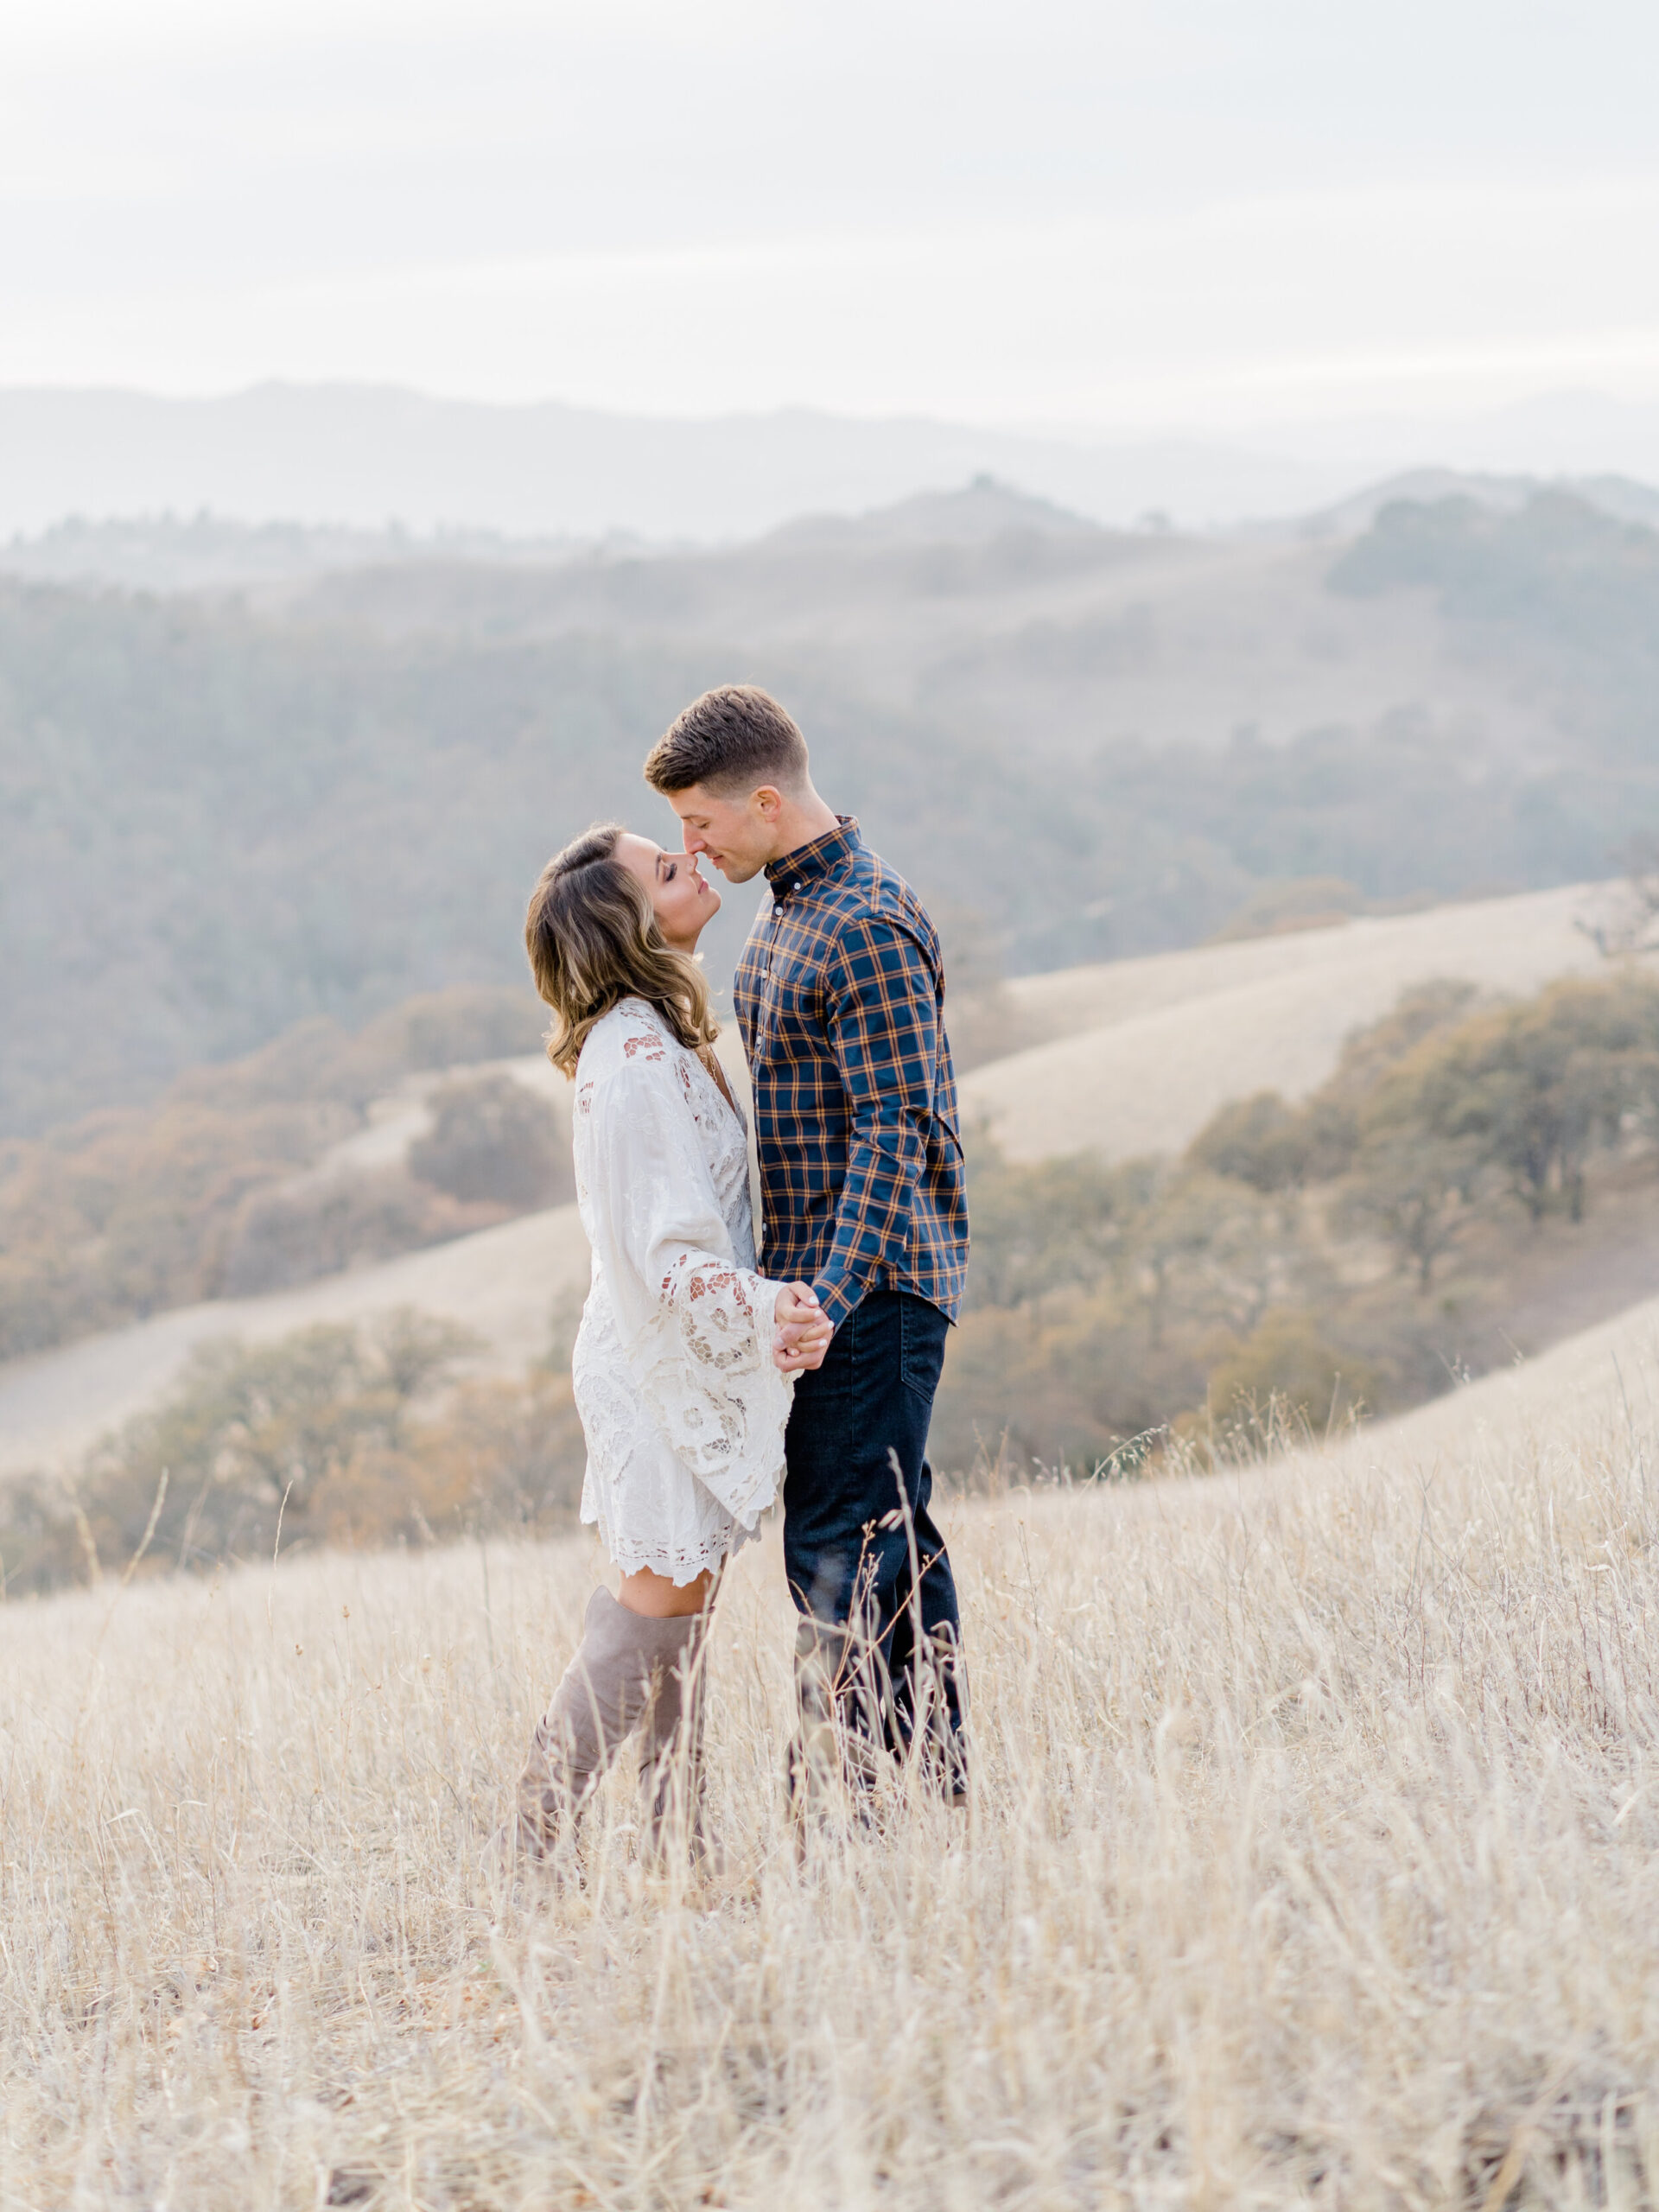
shot at 2.2 Aperature 1/320 and 250 ISO
1.) Use a prime lens and shoot wide open
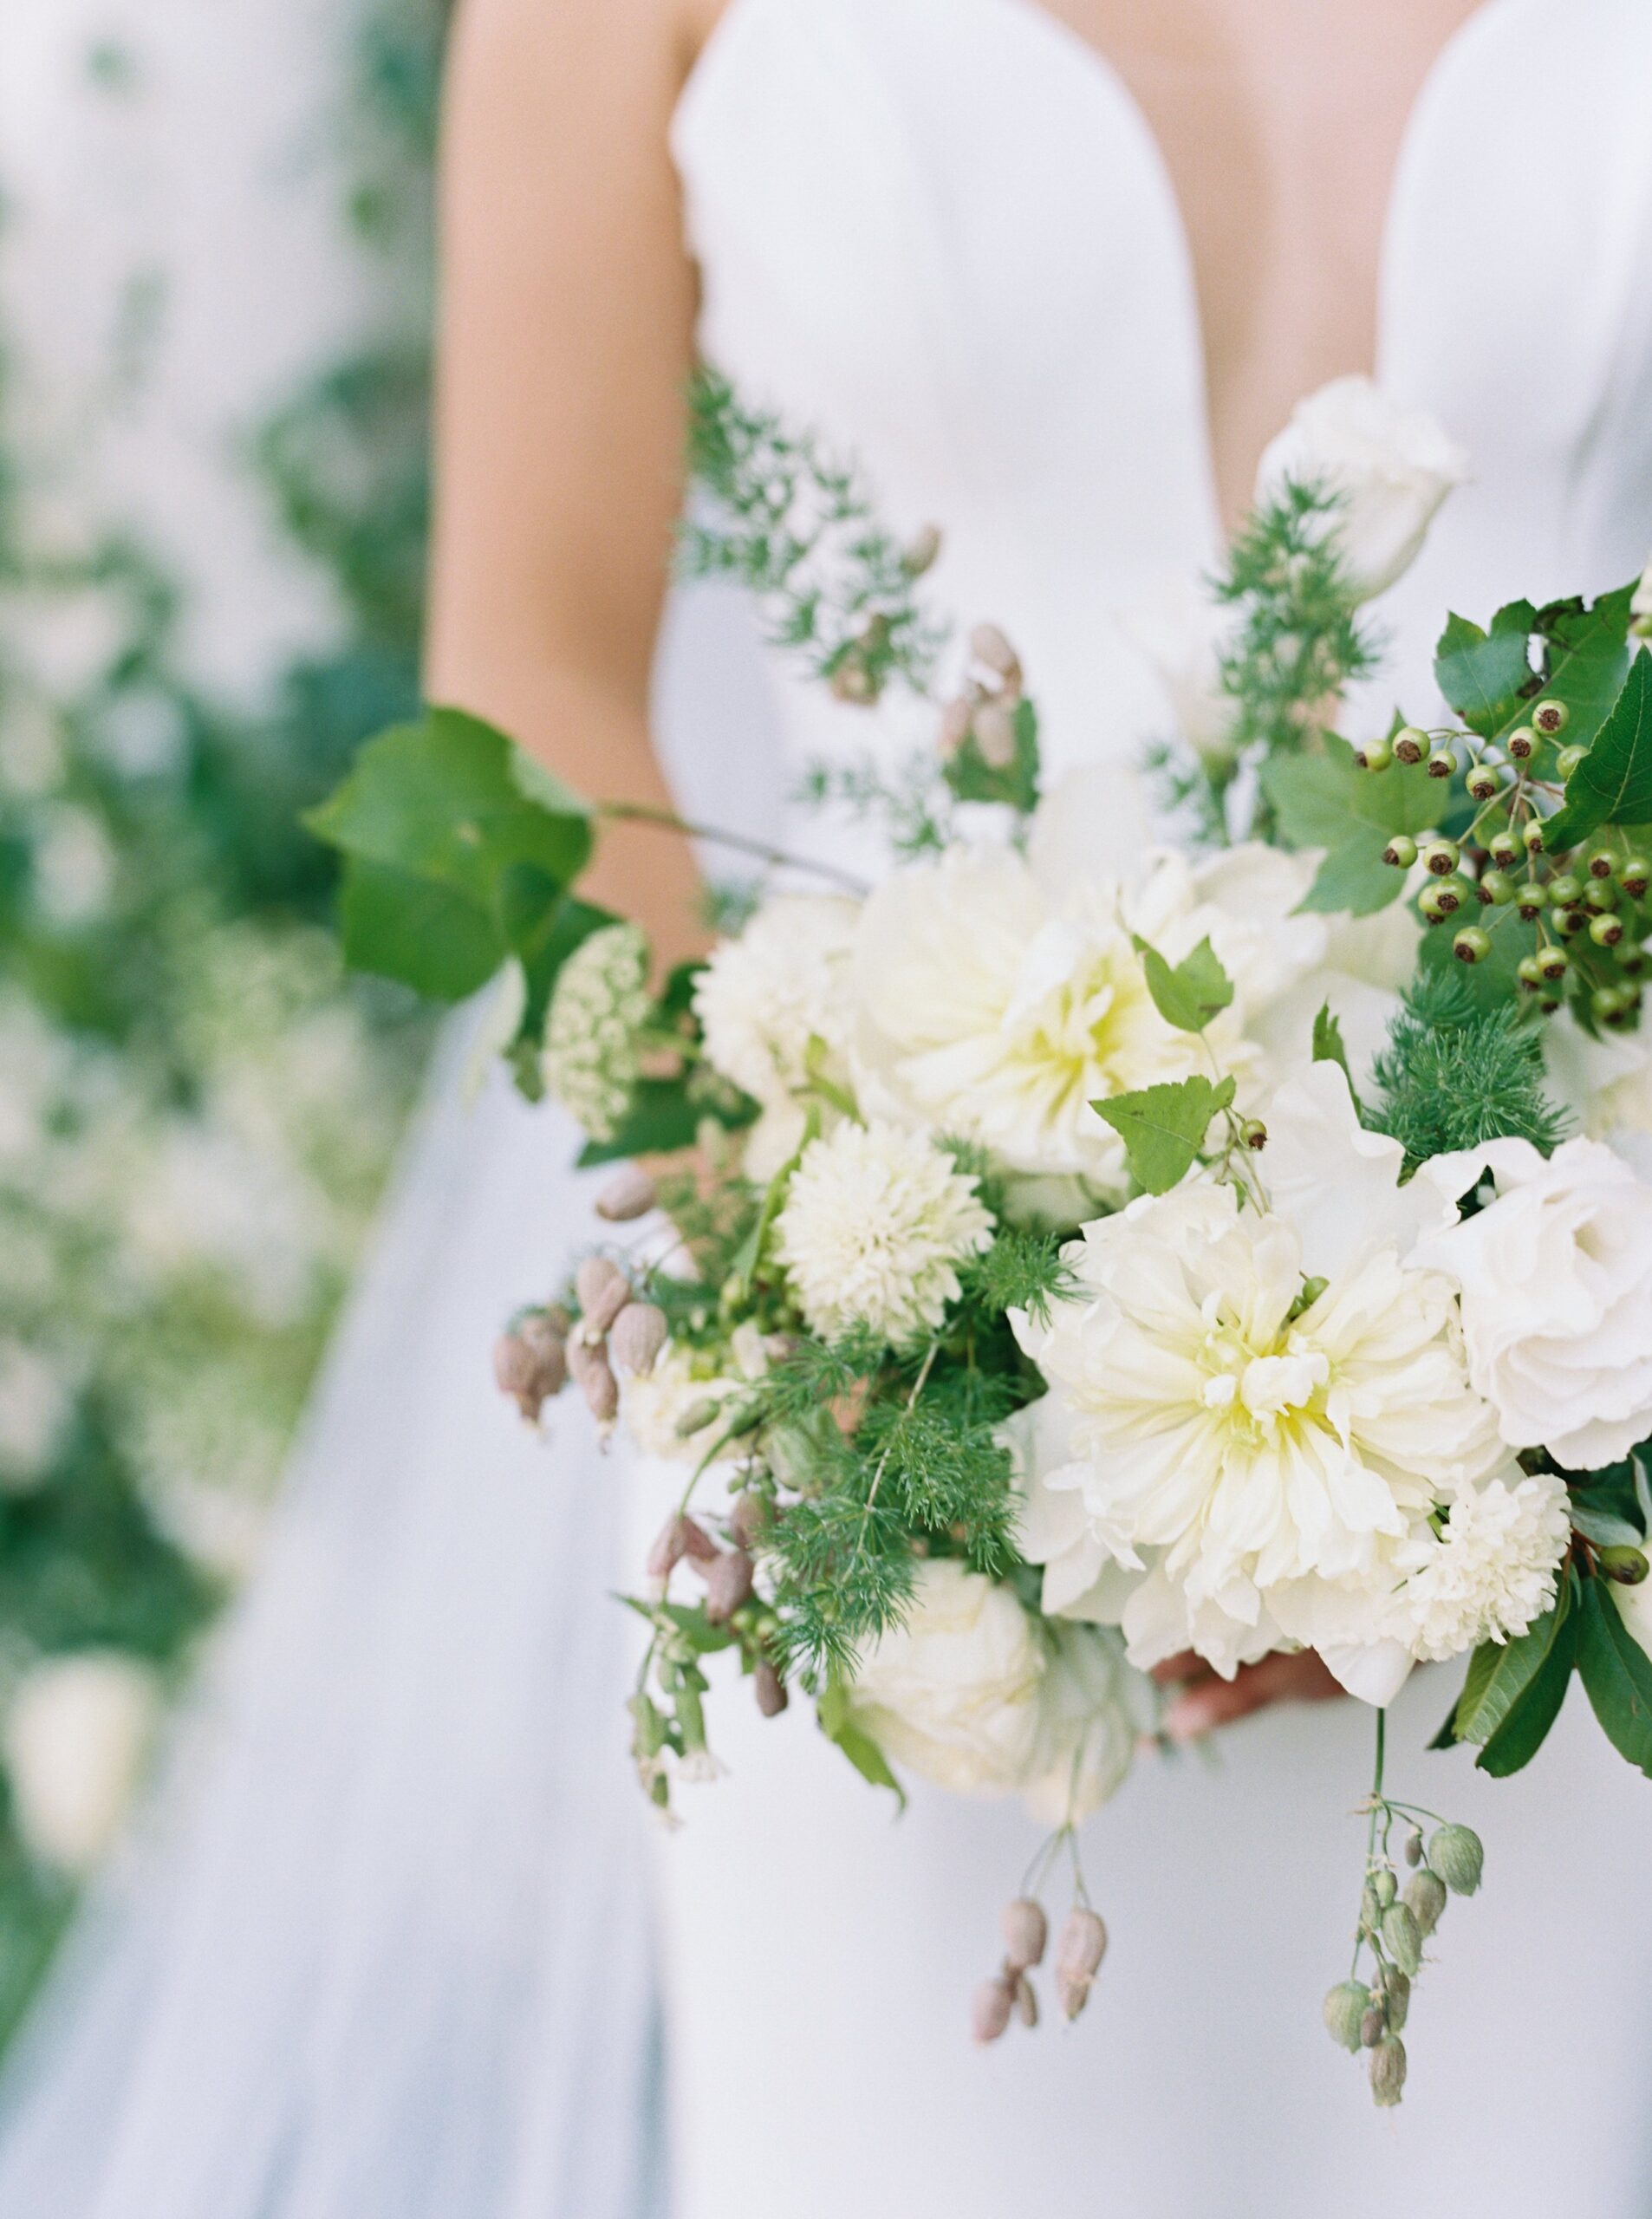
It doesn’t really matter what camera you have, you can achieve this look but using a prime lens (fixed focus lens) helps create a sharper image at a lower aperture. You want to shoot as wide open as possible, usually between 1.8-2.5 to achieve the blurry background. A great prime lens doesn’t have to break the bank, if you own a Canon Camera you can start with the a 50 1.8. This is a great starter prime lens to add to your kit. I am a Sony shooter, and use the 55 1.8 lens on 95% of my wedding day.

Shot on Sony 55 1.8 Lens at 1.8
2.) learn to find the light
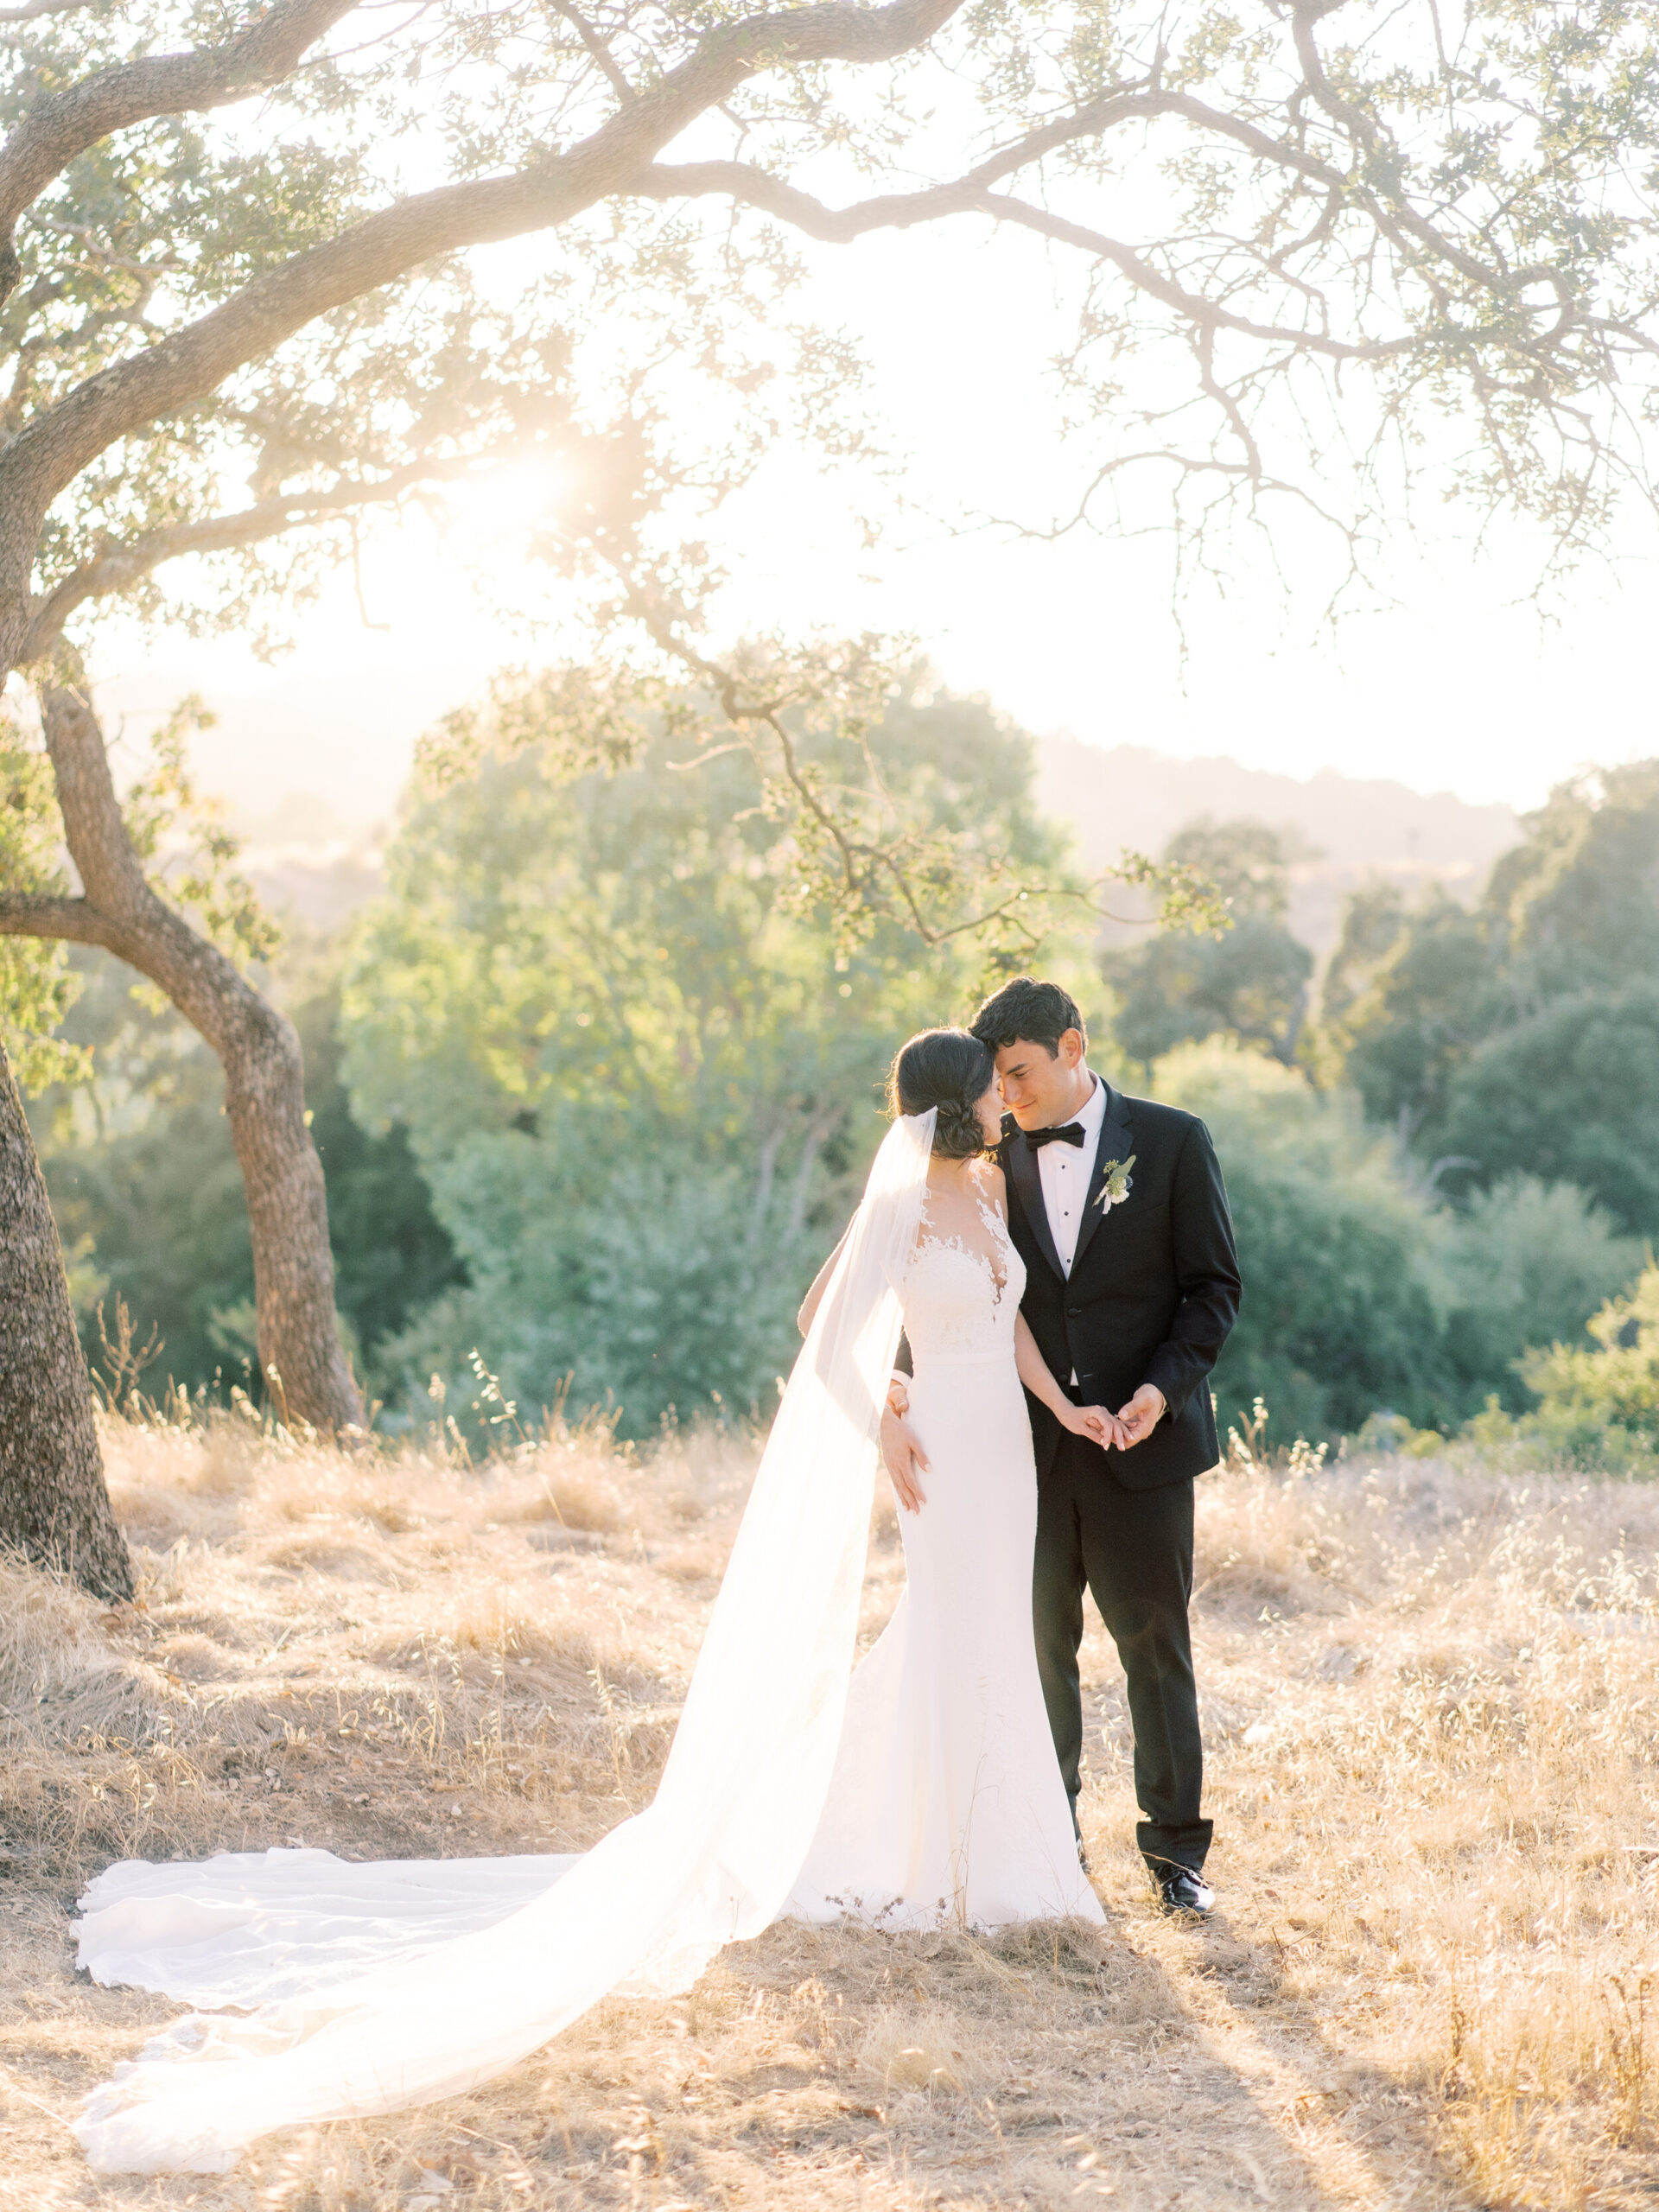
Not all light is created equal and how you see light helps determine what style of photographer you are. You have probably heard of “golden hour”, which is the hour before sunset. This is when the light is the softest and helps great a beautiful glow around your couple. This is the best time to shoot but during wedding days you don’t have the option to shoot everything during that hour. Even when out in the middle of the day when the light is the harshest you can still achieve a consistent look throughout the day. I tend to always put my clients back to the light which is called “backlit”. Then I exposure for their skin tones to give me the airy feel.
In the photo below it was high noon and I didn’t have any shade so I placed the group with their backs to the sun and created a beautiful image for them.

3.) shoot as close to perfectly exposed in camera as possible
Some people think that overexposing their digital images will help them achieve the look they want when really you want to shoot as perfectly to exposed as possible or a little underexposed. This will help keep your shadows and highlights and help your editing process smoother. In the image below you will see my raw image and my edited image on the right.

Unedited image on the left and edited image on the right
4.) using the right presets
In the beginning of your photography journey, you might think that there is a magical preset that will make your images look just like your favorite photographers. unfortunately there no one click fix, but it does help you get to where you want to go. Finding the presets that have the base of what you are looking for and then making your tweaks from there. I have gone through a lot of presets in my journey but my favorite has been The Archetype Process Presets. These presets have helped me achieve the look I am wanting with minimal tweaks.
For more in-depth on how I edit, See my how to edit your images to look like film with Tap here
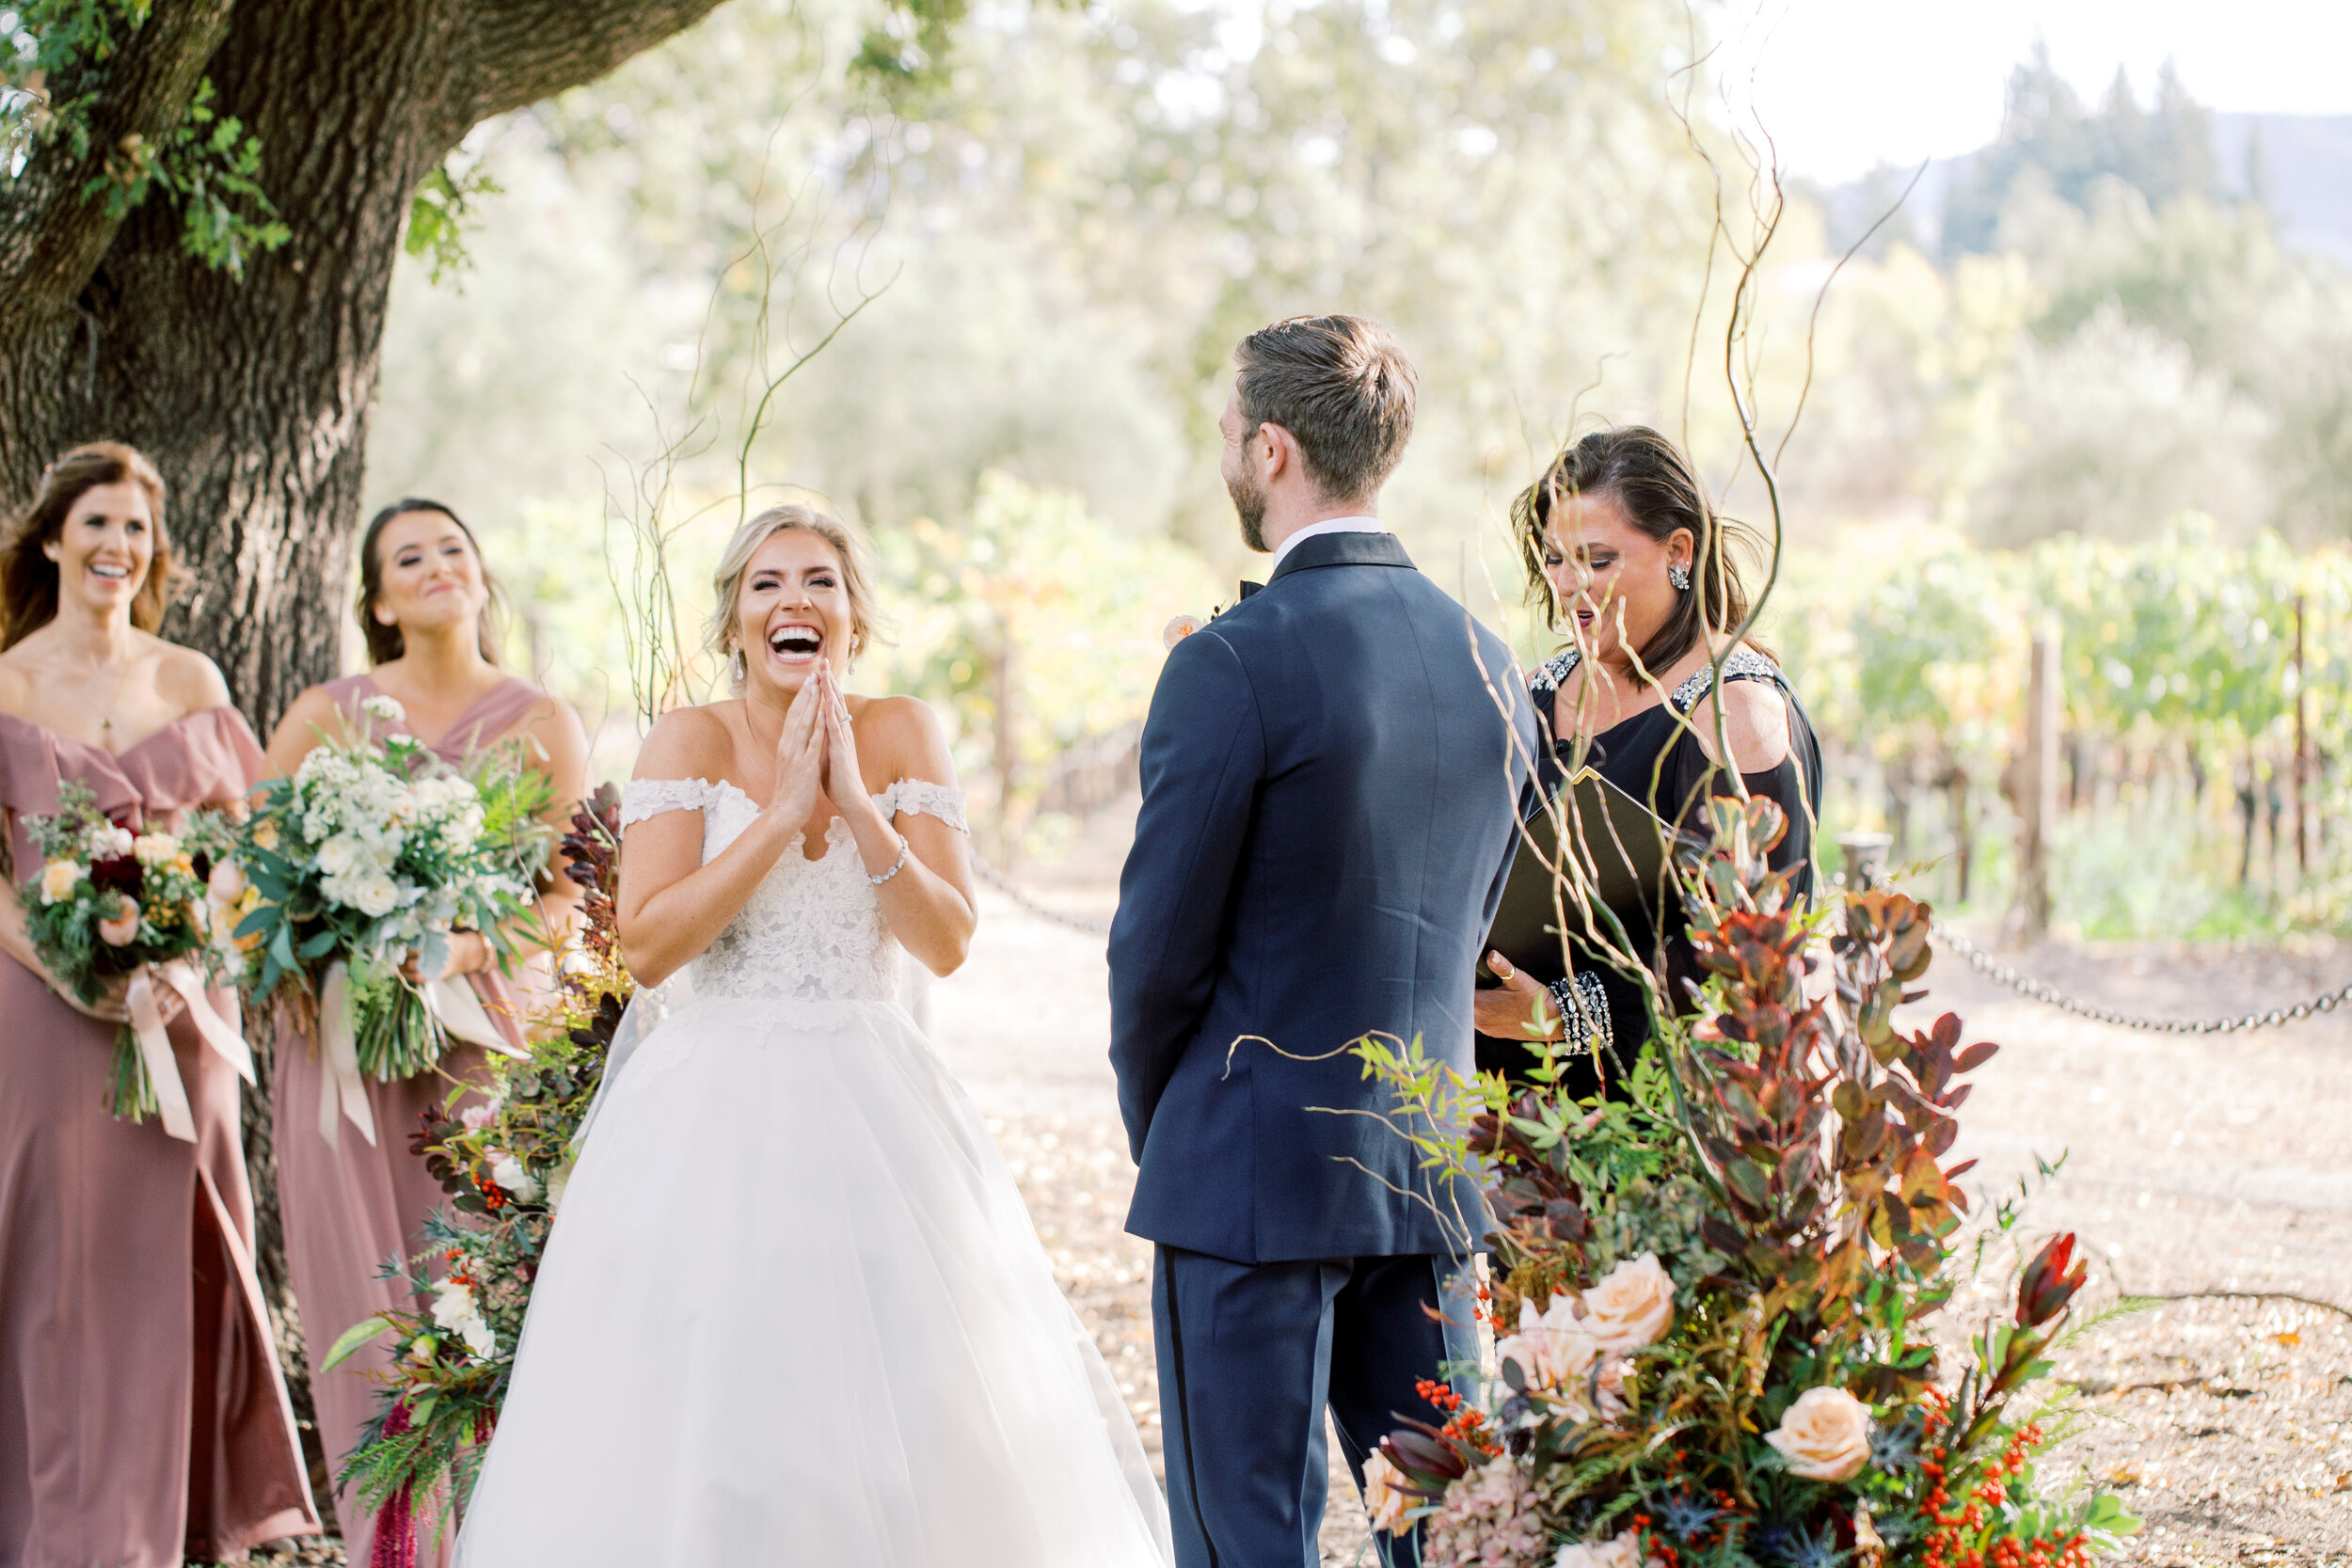
Image edited with The Archetype Process Fujifilm Presets
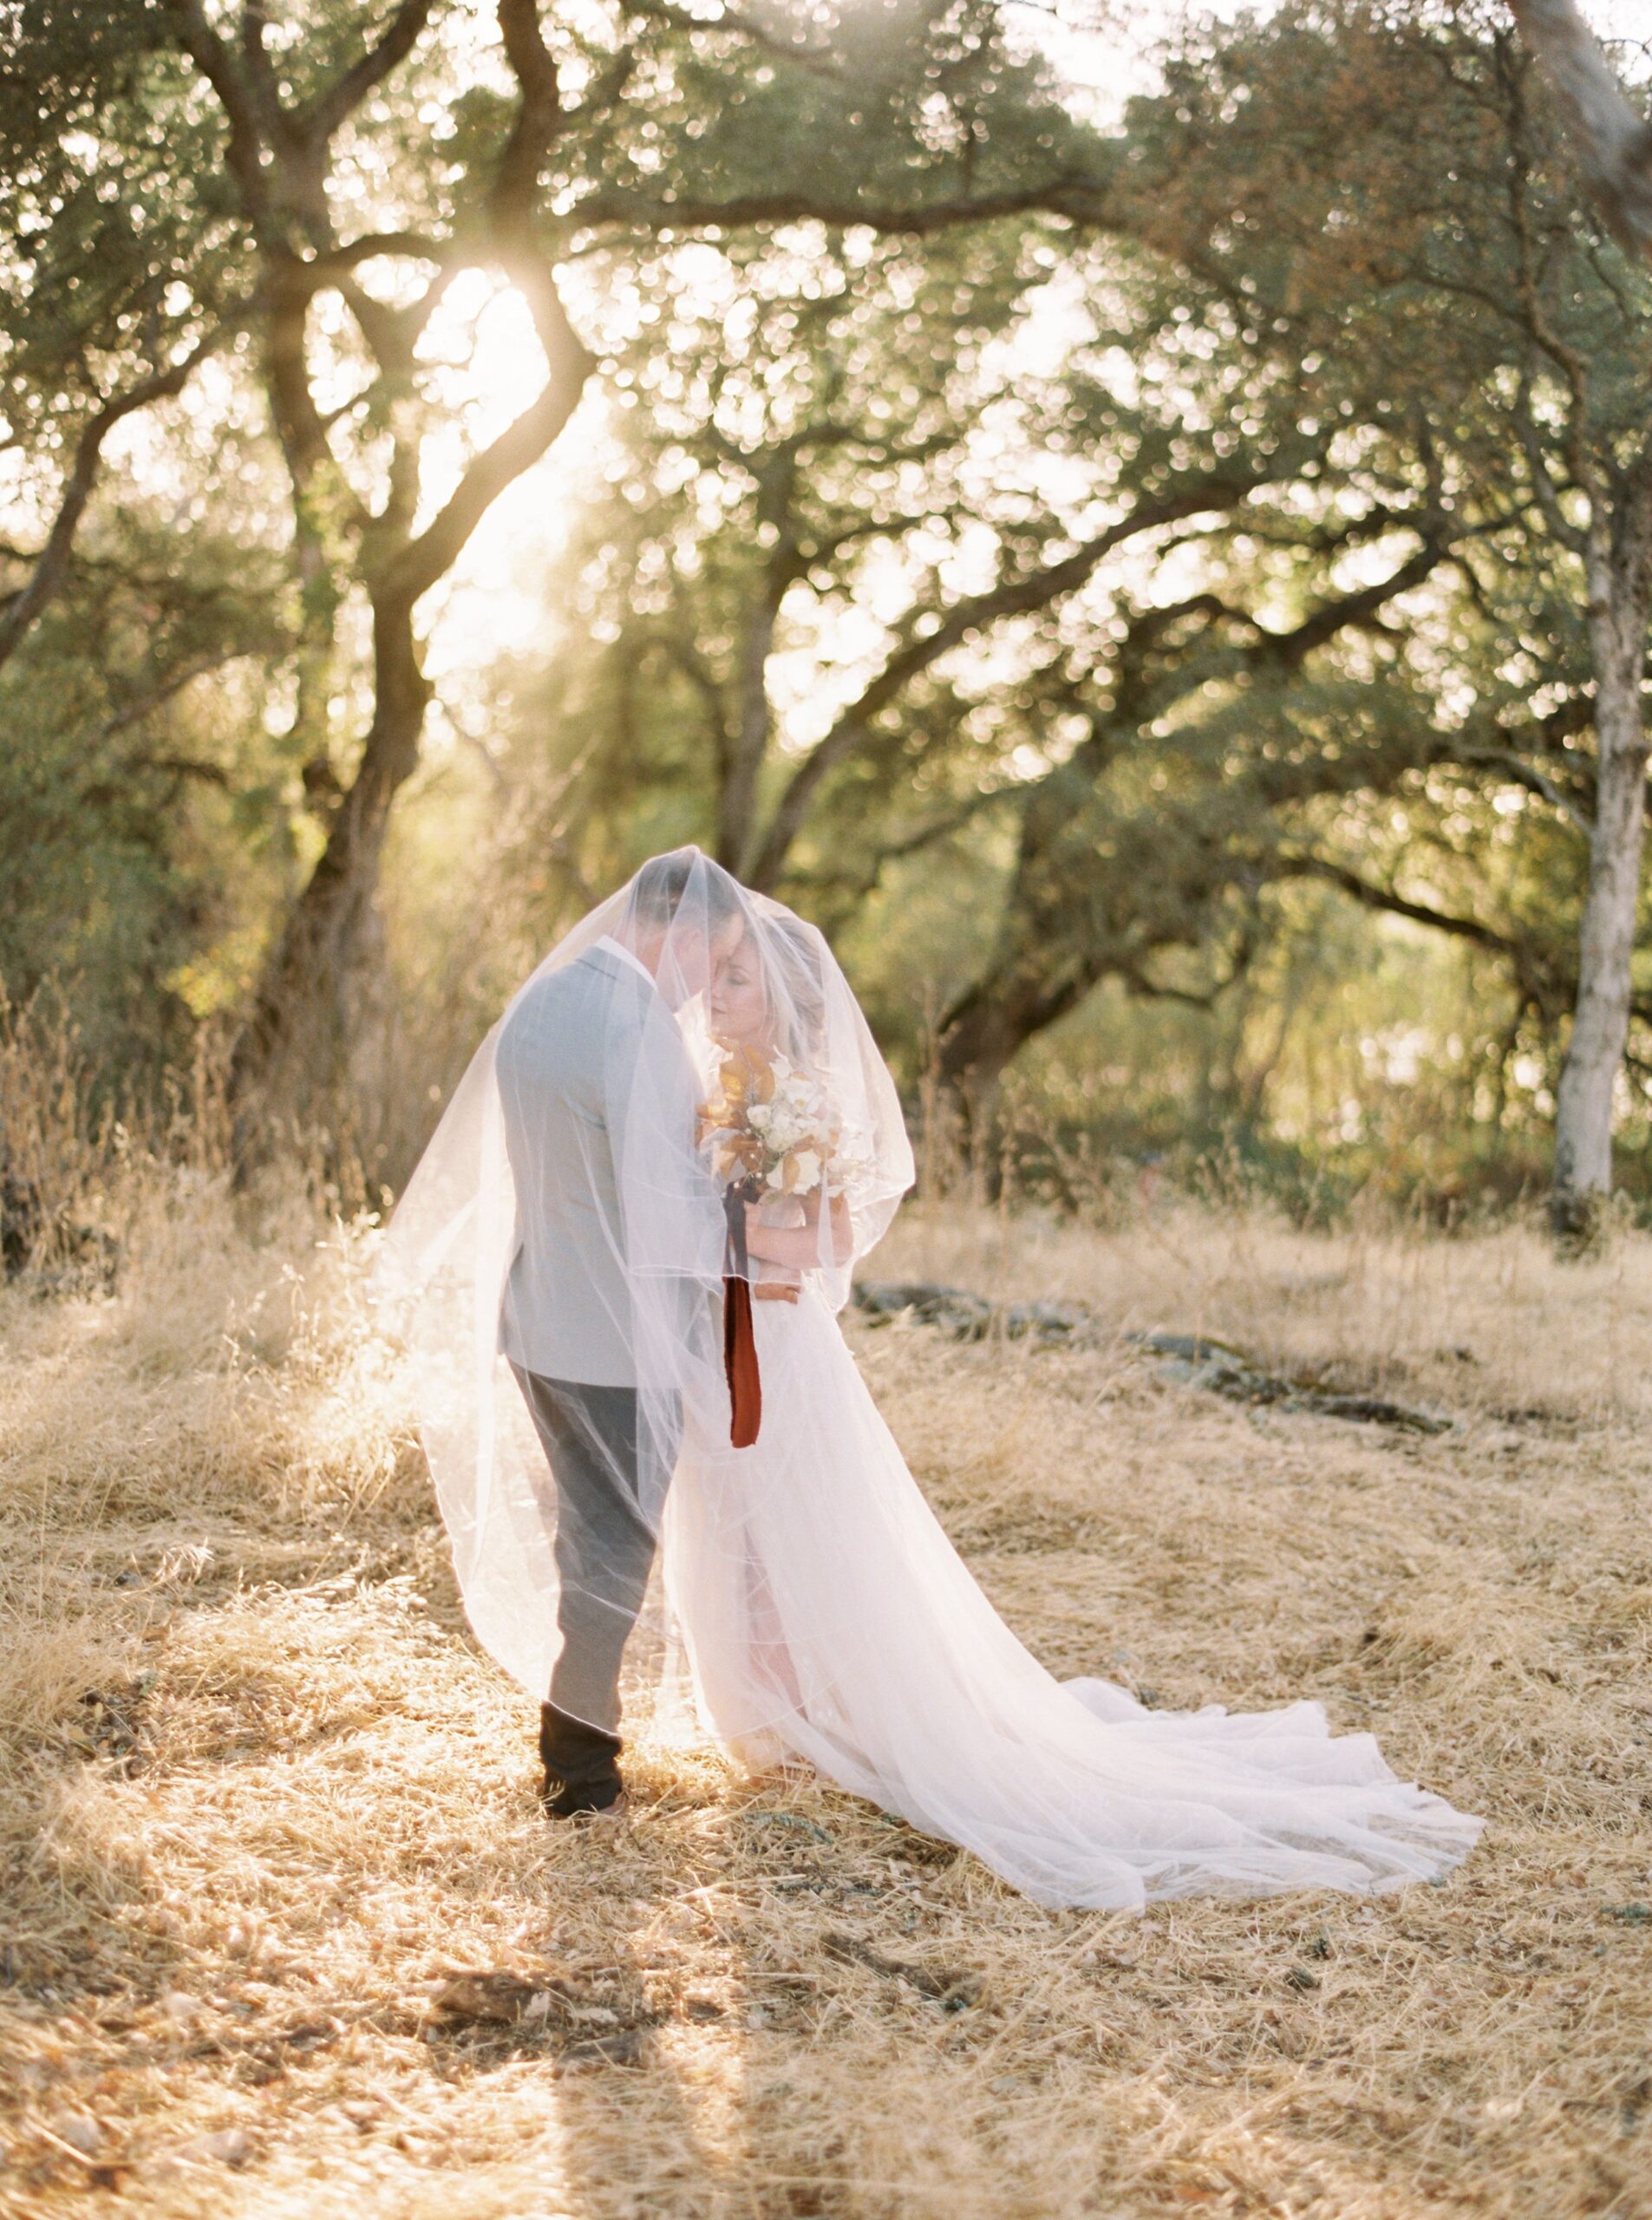
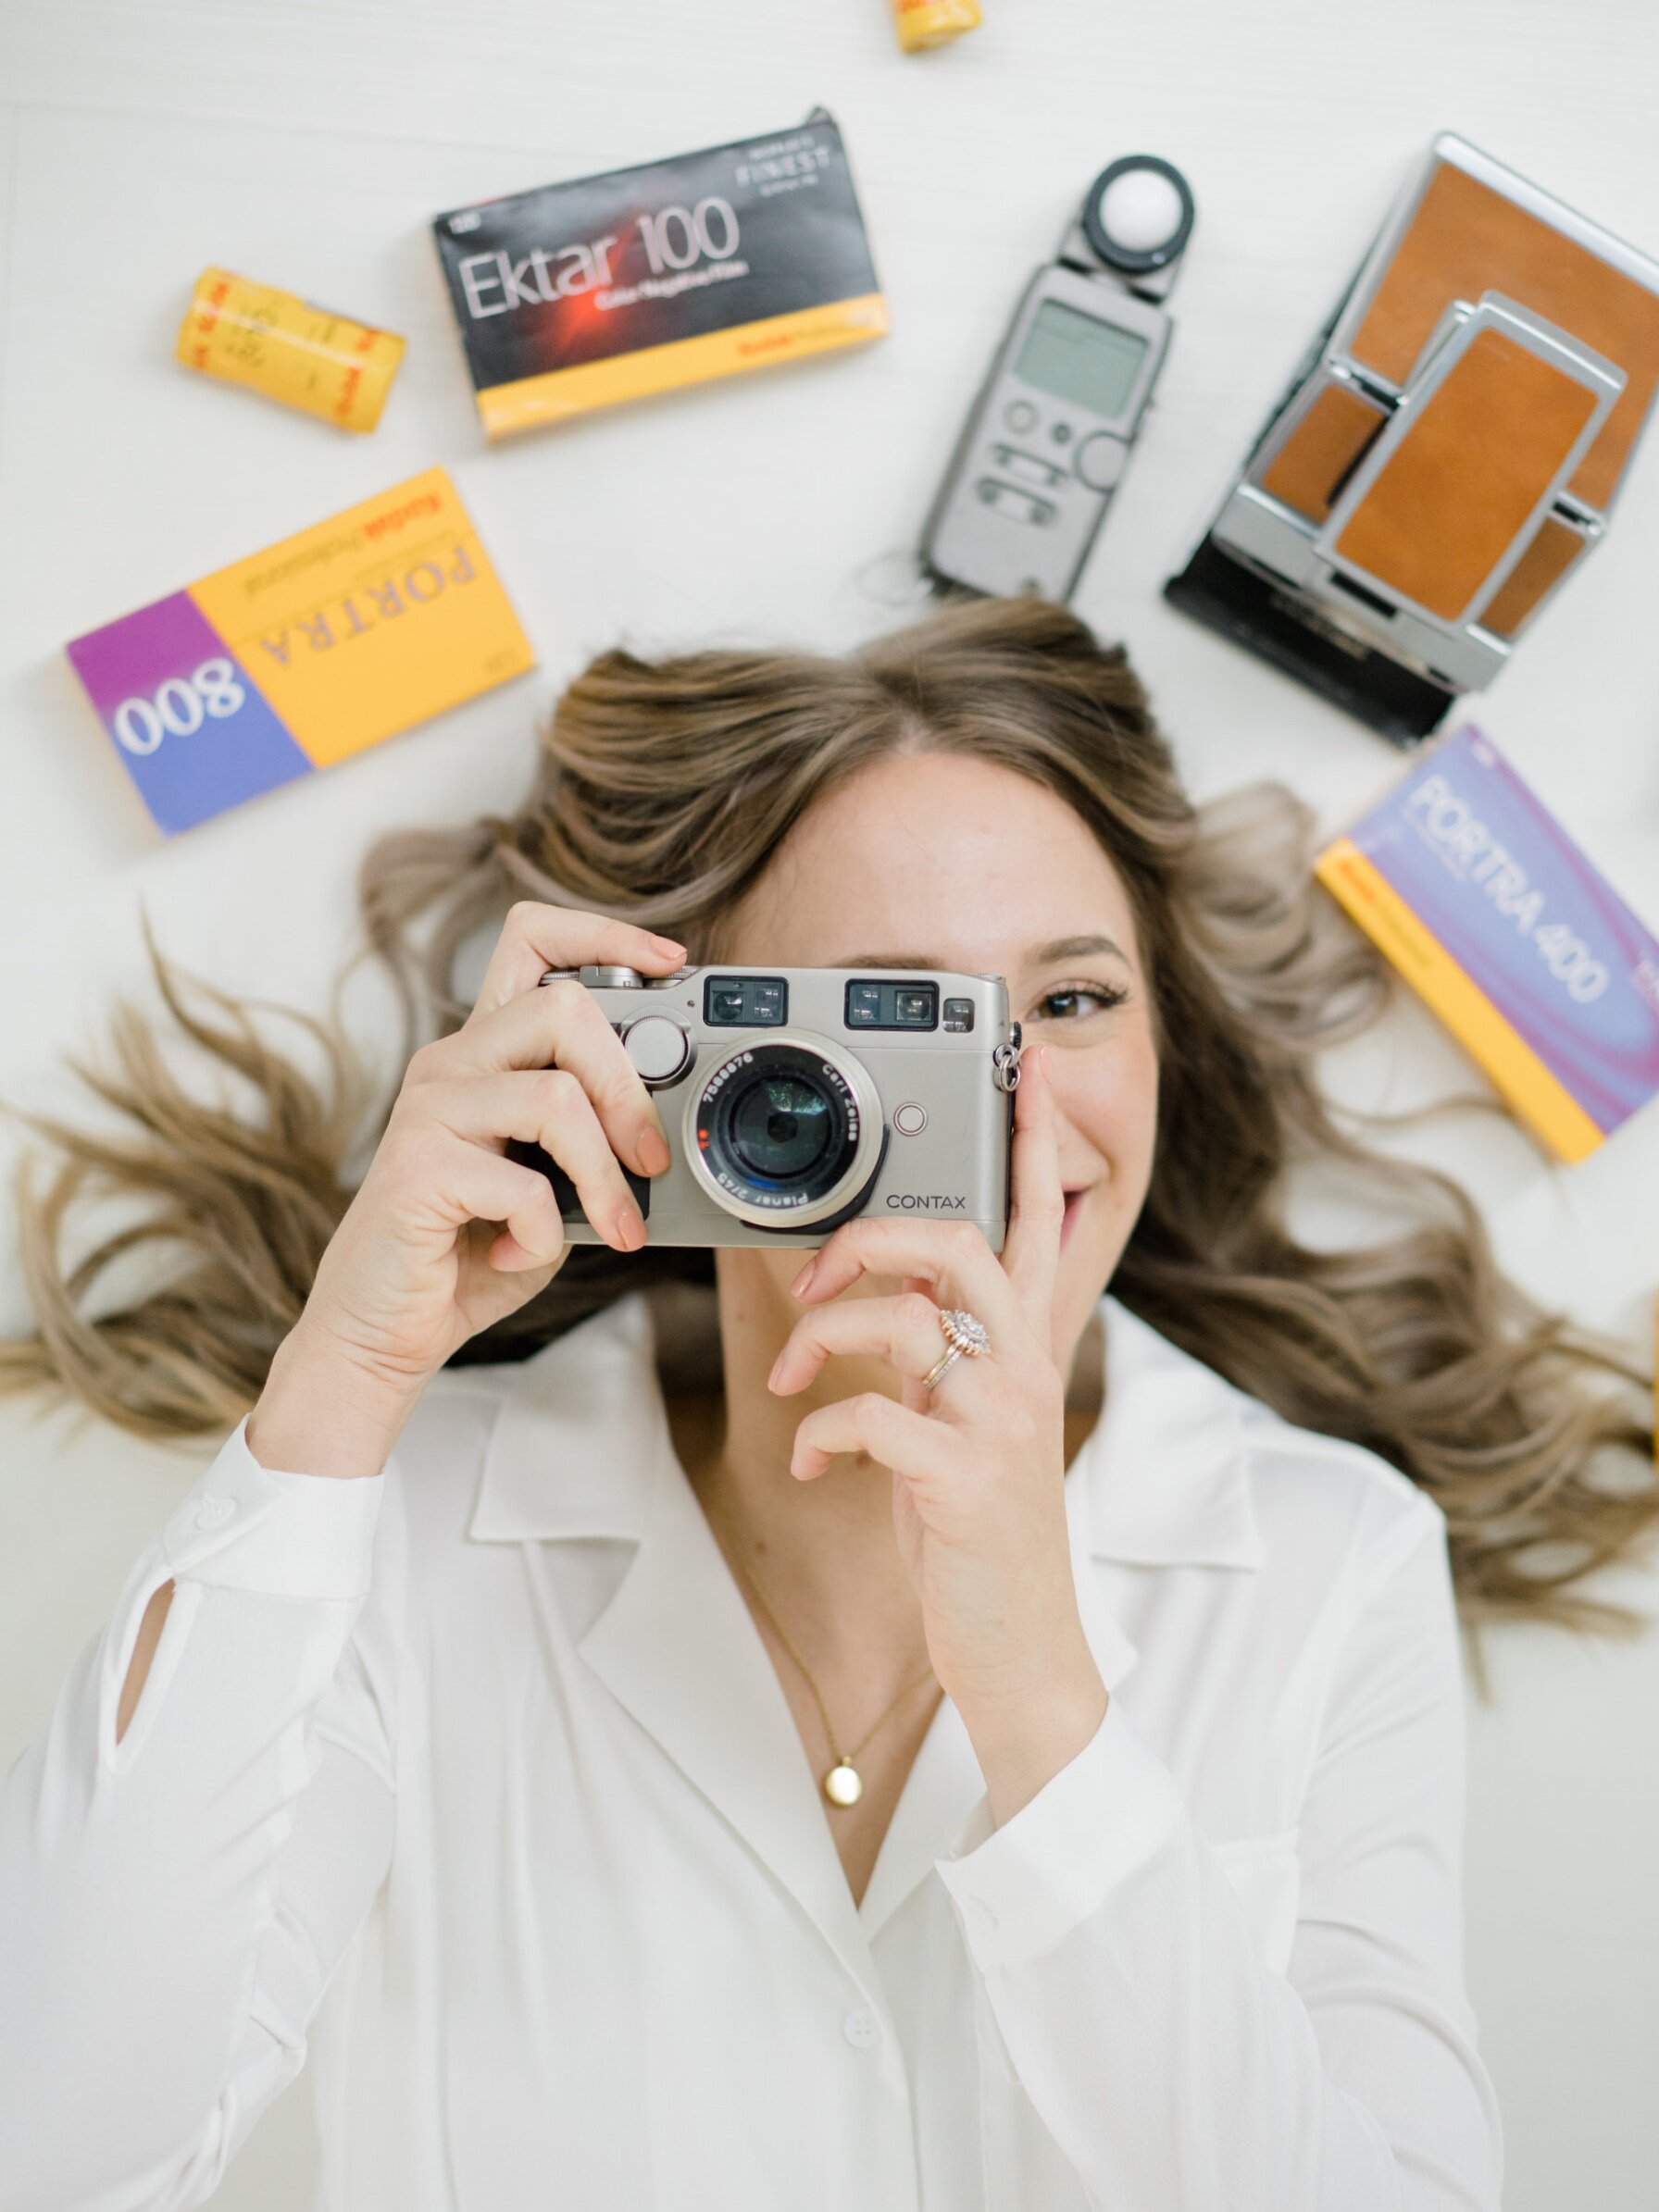
5.) learn film!
Film is the best way to shoot light and airy because it will help you learn the colors of film and this will help your editing style so much! I always had a hard time defining my light and airy style and once I started shooting film, I started to understand the colors and the light I was looking for to help achieve that “filmy” and light and airy look. Ready my beginners guide to film here!

Film image shot on a Contax 645


")


